windows基于hexo+github page 的个人博客搭建
Windows 下基于hexo+github page 的个人博客搭建
Hexo搭建步骤
1. 安装Git
安装好之后用:
1 | get --version |
查看版本
2. 安装nodejs
Node.js — Download Node.js® (nodejs.org)
3. 安装hexo
在安装好git和nodejs之后呢,现在来安装hexo。
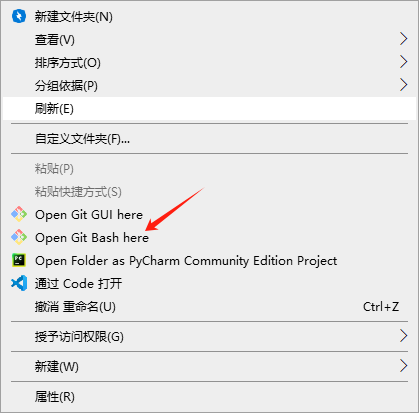
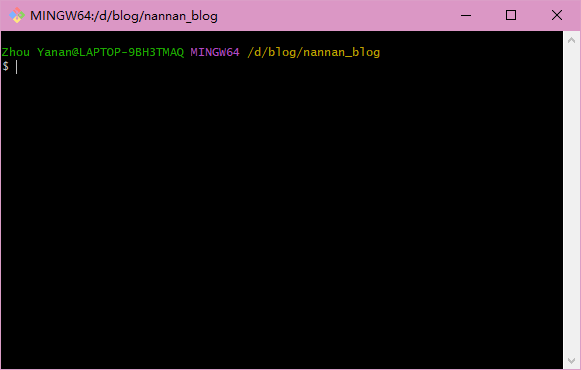
先创建一个文件夹blog,然后cd到该blog文件夹下或直接右键文件夹点git bash打开。
进入到:
输入命令:
1 | npm install -g hexo-cli |
再用:
1 | hexo -v |
查看版本。
现在就全部安装好啦。
接下来我们来初始化hexo
1 | hexo init myblog【你自己博客的名字】 |
然后
1 | hexo g |
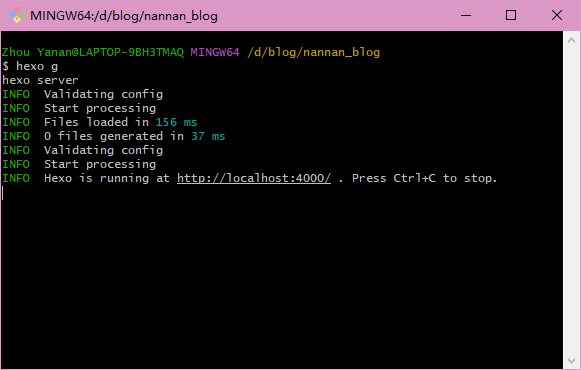
然后点Open:
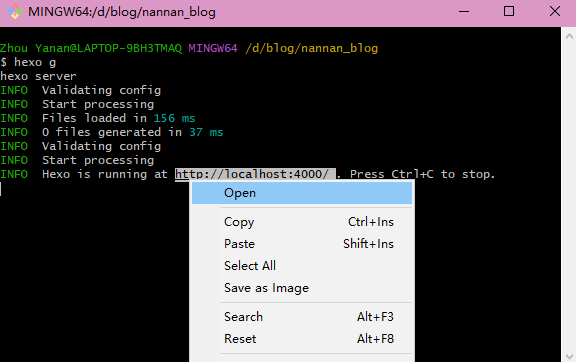
就可以进去啦:
控制台按ctrl+c可以关闭。
4. GitHub创建个人仓库
首先,要有一个GitHub账户,然后我们创建一个新的仓库(New repository)
仓库名称就叫:用户名.github.io
5. 生成SSH添加到GitHub
再回到git bash控制台输入:
1 | git config --global user.name "yourname" |
然后创建ssh
1 | ssh-keygen -t rsa -C "youremail" |
然后就能在我们的电脑中找到.ssh文件夹了。
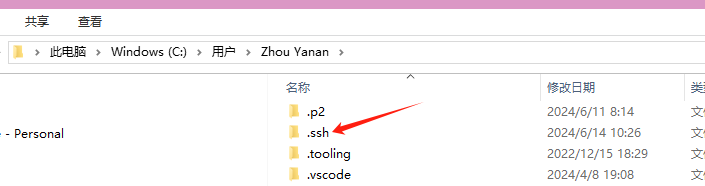
我们点进去:
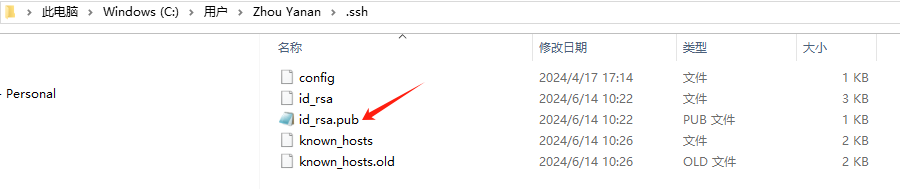
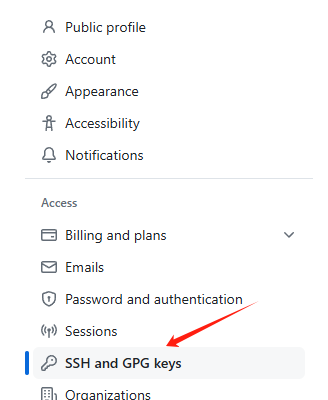
id_rsa.pub是公共秘钥,把这个公钥放在GitHub上。
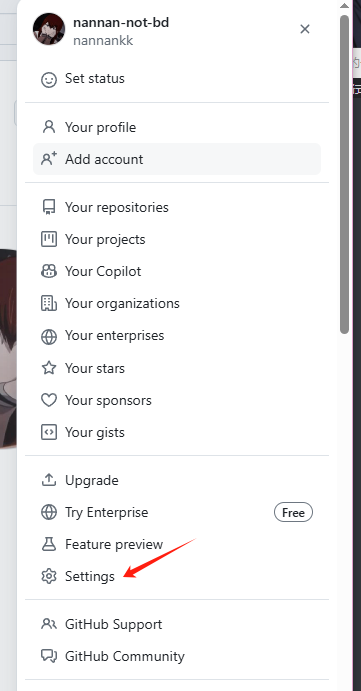
在GitHub的setting中,找到SSH keys的设置选项,点击New SSH key
把你的id_rsa.pub里面的信息复制进去。
然后在git bash中看是否成功:
1 | ssh -T git@github.com |
6. 将hexo部署到GitHub
我们打开配置文件(_config.yml)找到以下,并修改为:
1 | deploy: |
然后:
1 | npm install hexo-deployer-git --save |
然后:
1 | hexo clean |
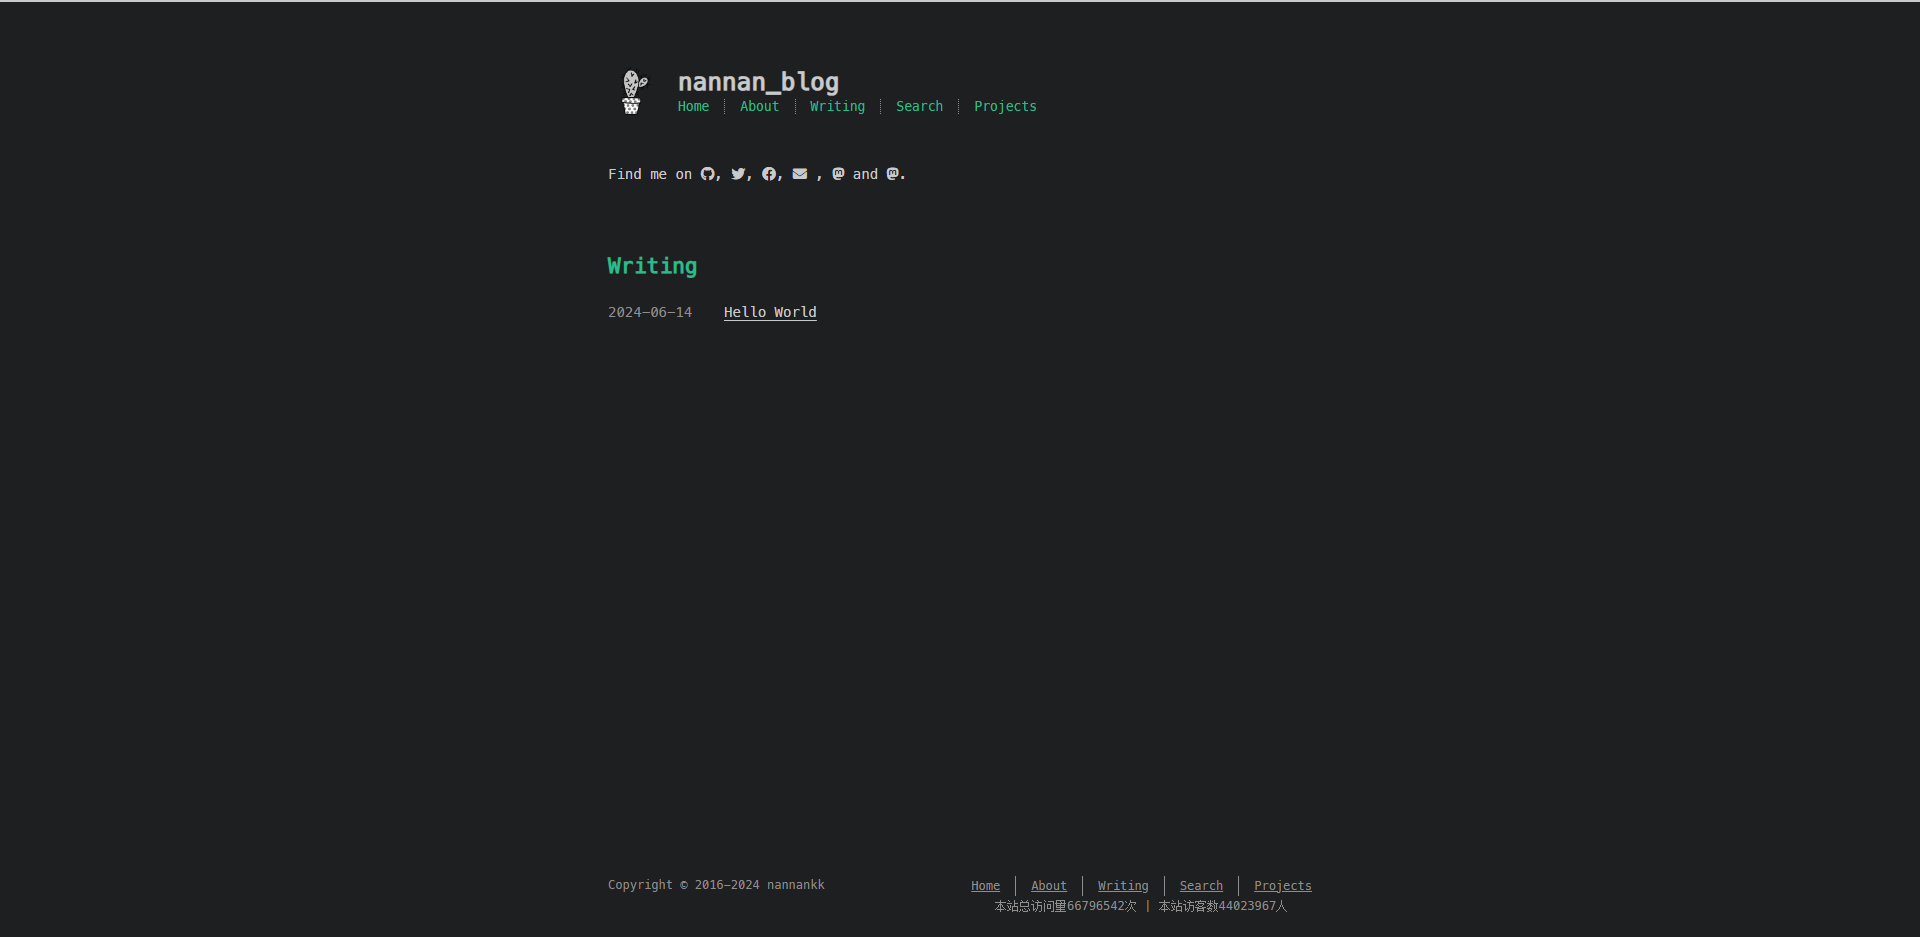
至此你就可以在:http://yourname.github.io 看见自己的博客啦。
7.主题配置教程(以cactus为例)
安装cactus主题
还是右键myblog点git bash
执行:
1 | git clone https://github.com/probberechts/hexo-theme-cactus.git themes/cactus |
如果timeout就用ssh连接:
1 | git cline git@github.com:probberechts/hexo-theme-cactus.git themes/cactus |
然后在./_config.yml中修改theme
1 | # theme: landscape |
切换主题的风格
- 前面提到了cactus主题有四个风格,切换风格只需要进入
./themes/cactus/_config.yml中找到colorscheme修改就完事,注意每次修改完都需要hexo cleanhexo g才会生效
1 | # Set the color scheme. |
导航栏相关
- 在
./themes/cactus/_config.yml找到nav
1 | nav: |
在导航栏添加搜索功能
- 在
./themes/cactus/_config.yml中找到nav新建search标签
1 | nav: |
- 执行
npm install hexo-generator-search --save - 执行
hexo new page search - 进入
./themes/cactus/source/serch/index.md,修改md文件 的头为
1 | title: Search |
- 更新之后进入网站,点击search就可以搜索了
新增标签功能
只需要在每篇文章的头部添加
1 | title: Tags and Categories |
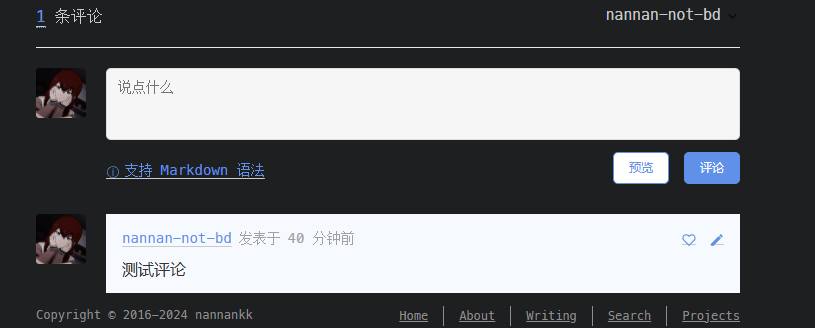
开启评论功能
这里以Gitalk为例
登录github ,进入Setting/Developer settings,新创建一个OAuth App,填写应用名,主页url,回调url
在 Hexo 的 cactus 主题中集成 Gitalk
在
themes/cactus/_config.yml配置文件中,配置 Gitalk。1
2
3
4
5
6
7
8
9
10disqus:
enabled: false # 确定 disqus 评论是关闭的
shortname: cactus-1
gitalk:
enabled: true # 开关开启
owner: al-liu # 你的 github 用户名
repo: al-liu.github.io # 保存评论的 repo 库
admin: ['al-liu'] # 管理员,你的 github 用户名
clientID: xxx
clientSecret: xxx在
themes/cactus/layout/_partial/comments.ejs中:1
2
3
4
5
6
7
8
9
10
11
12
13
14
15
16
17
18
19
20
21
22
23
24
25
26
27// disqus 评论系统部分
<% if(page.comments && theme.disqus.enabled){ %>
<div class="blog-post-comments">
<div id="disqus_thread">
<noscript><%= __('comments.no_js') %></noscript>
</div>
</div>
<% } %>
// 下面添加 Gitalk 部分
<% if(page.comments && theme.gitalk.enabled){ %>
<link rel="stylesheet" href="https://cdn.jsdelivr.net/npm/gitalk@1/dist/gitalk.css">
<script src="https://cdn.jsdelivr.net/npm/gitalk@1/dist/gitalk.min.js"></script>
<script src="https://cdn.bootcss.com/blueimp-md5/2.10.0/js/md5.min.js"></script>
<div id="gitalk-container"></div>
<script type="text/javascript">
var gitalk = new Gitalk({
clientID: '<%= theme.gitalk.clientID %>',
clientSecret: '<%= theme.gitalk.clientSecret %>',
id: md5(window.location.pathname),
repo: '<%= theme.gitalk.repo %>',
owner: '<%= theme.gitalk.owner %>',
admin: '<%= theme.gitalk.admin %>',
distractionFreeMode: '<%= theme.gitalk.on %>'
})
gitalk.render('gitalk-container')
</script>
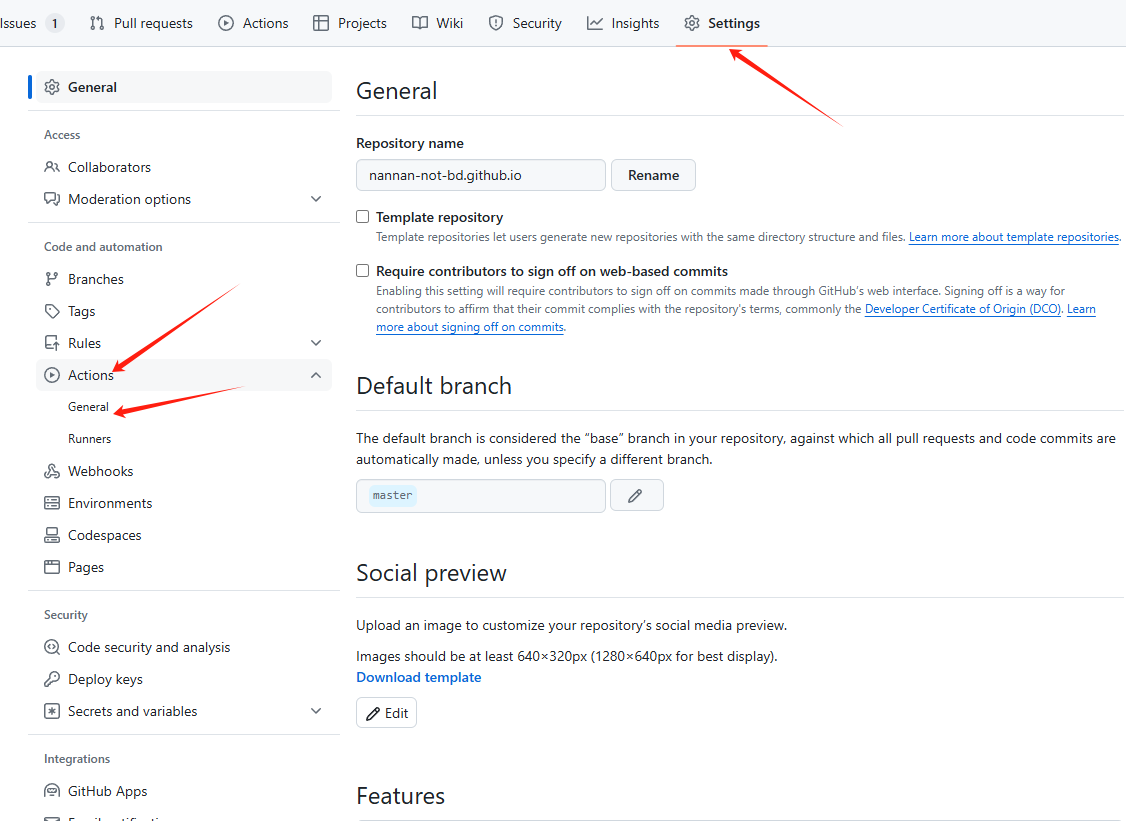
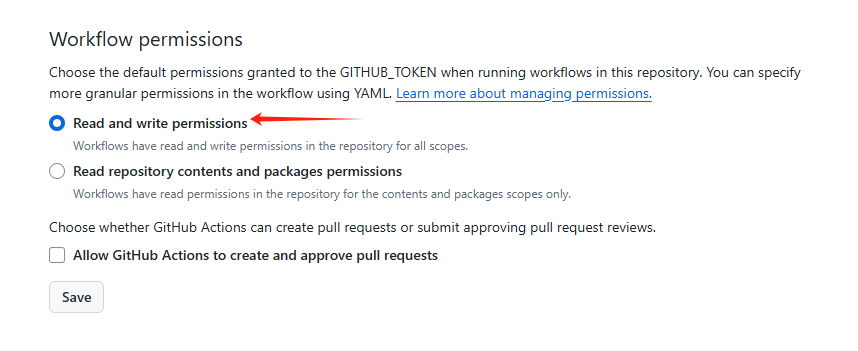
<% } %>然后有的小伙伴可能会报错:error: resource not accessible by integration.
怎么办呢?其实是权限不够

然后往下翻:
就可以啦。
我们再重新:
1
2
3hexo clean
hexo generate
hexo deploy
然后再进去我们的博客看看,应该就可以啦!
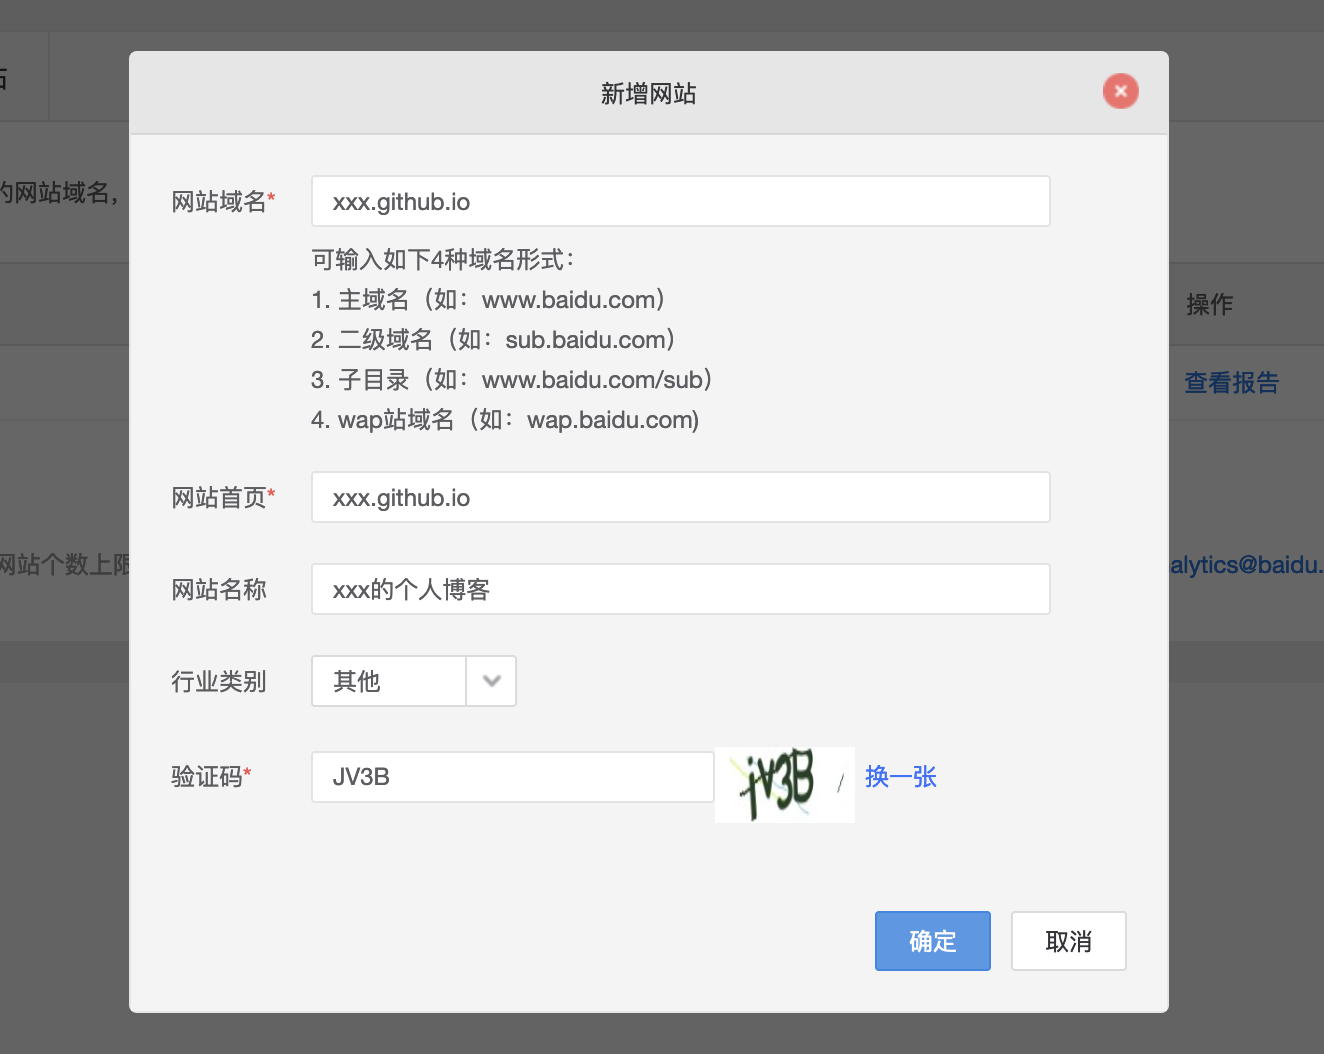
增加数据分析
以百度分析为统计,先去百度统计官网 注册一个账号,然后在网站列表点击
新增网站填写相关信息
- 然后在
代码管理->代码获取页面复制这一段,这就是你的tracking_id
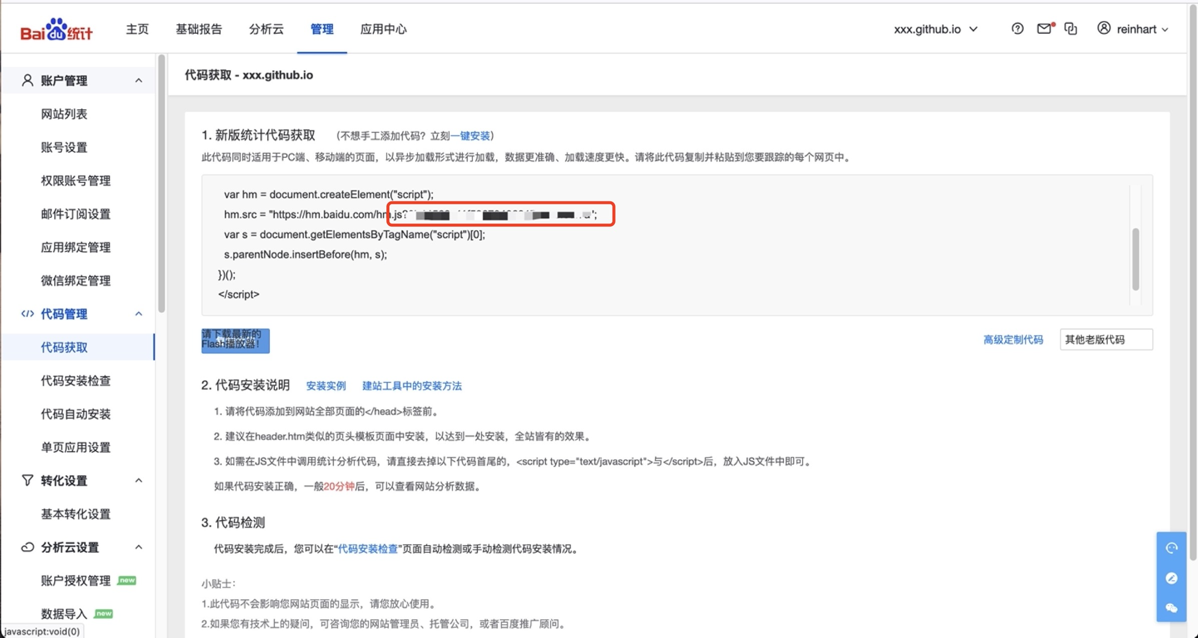
- 然后回到
./themes/cactus/_config.yml,修改这里的id,enabled设置为true
1 | baidu_analytics: |
- 进入百度统计的
代码管理->代码安装检查,点击开始检查,如果显示代码安装正确,过一会就能显示你网站统计的数据了。
- Title: windows基于hexo+github page 的个人博客搭建
- Author: Nannan
- Created at : 2024-06-14 20:52:41
- Updated at : 2024-09-29 23:21:43
- Link: https://redefine.ohevan.com/2024/06/14/Deploy a personal blog/
- License: This work is licensed under CC BY-NC-SA 4.0.